There’s nothing like a cozy mug warmed by real pumpkin spice when crisp mornings arrive, and making your own homemade pumpkin coffee creamer brings that comfort to your countertop in minutes. This version uses genuine pumpkin puree, warm spices, and pure maple syrup so you avoid artificial flavors and unnecessary additives while keeping the process quick enough for weekday routines. You’ll discover easy swaps for dairy-free diets and simple storage tips so a single batch lasts through multiple mornings.
How do you prepare pumpkin coffee creamer?
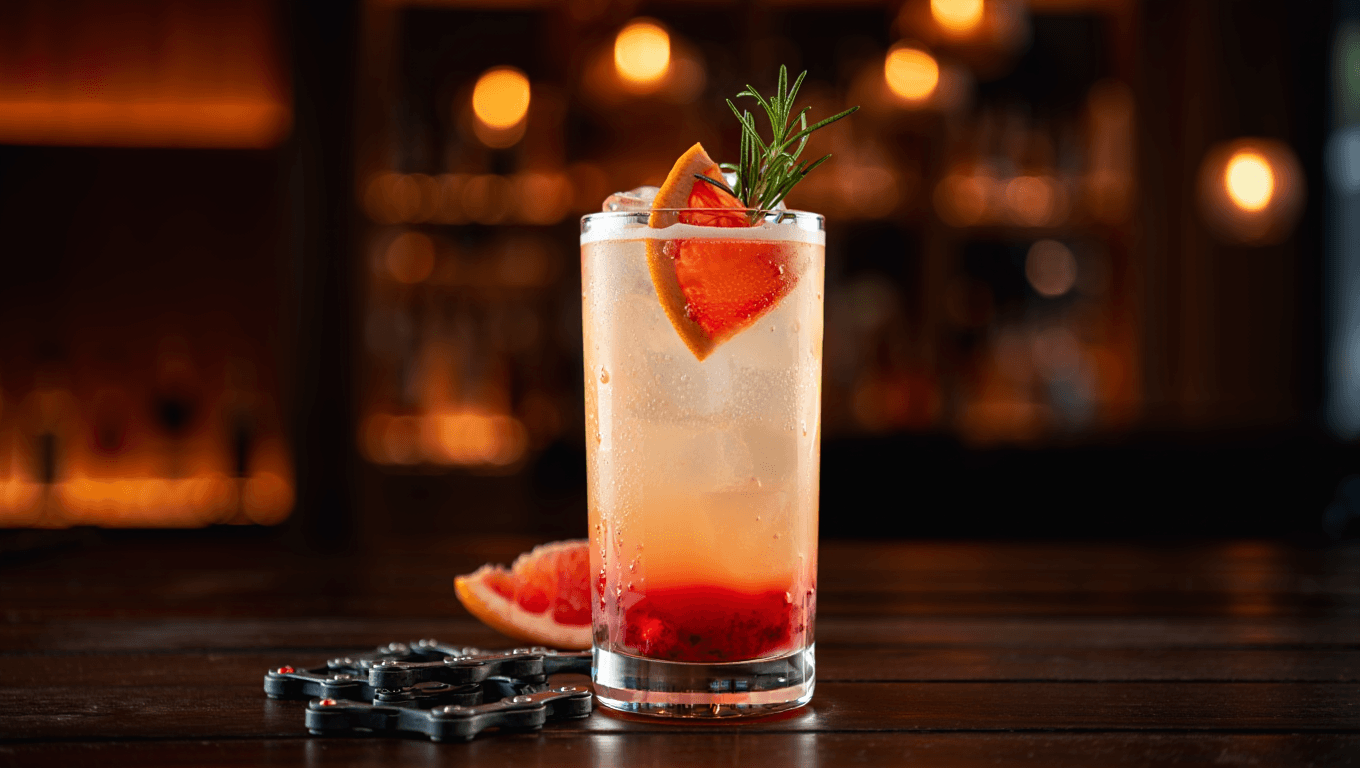
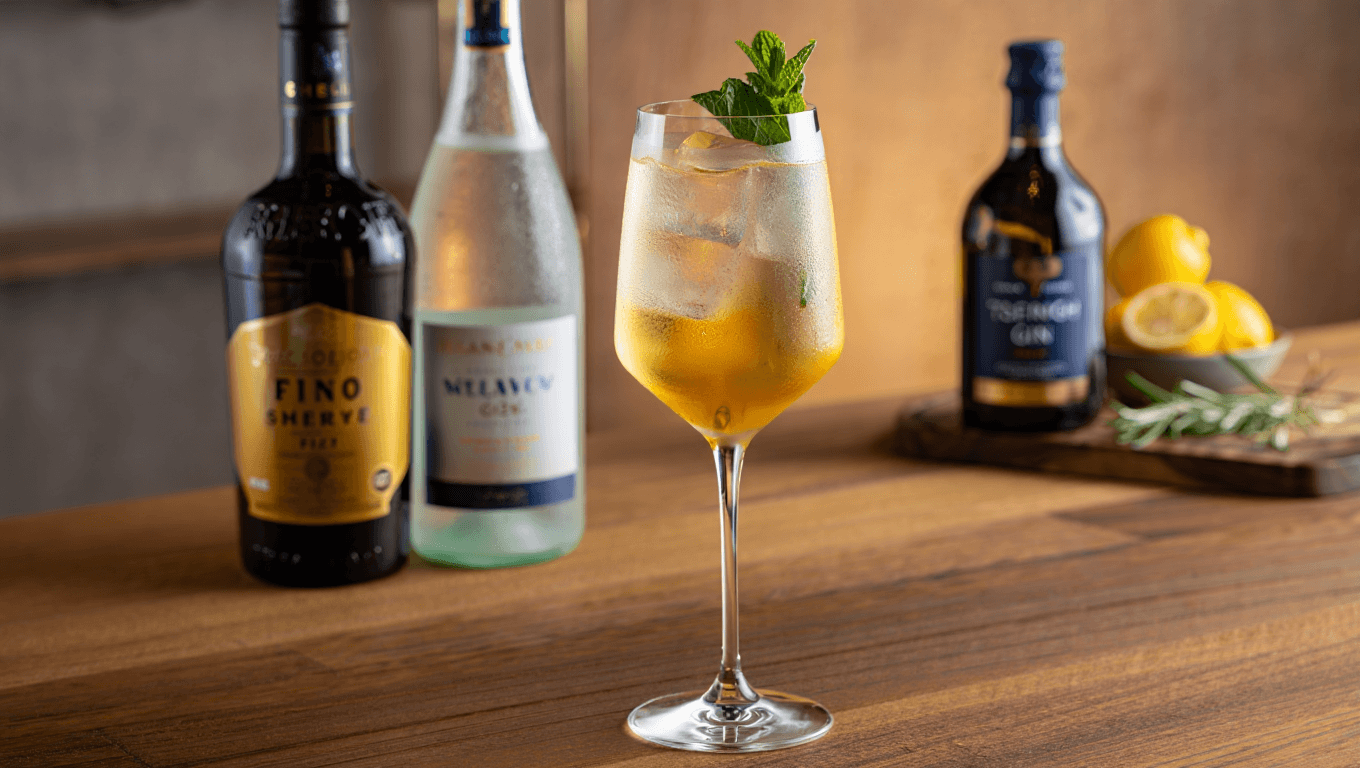
Bicycle thief cocktail recipe: bittersweet gin, zesty citrus, soda
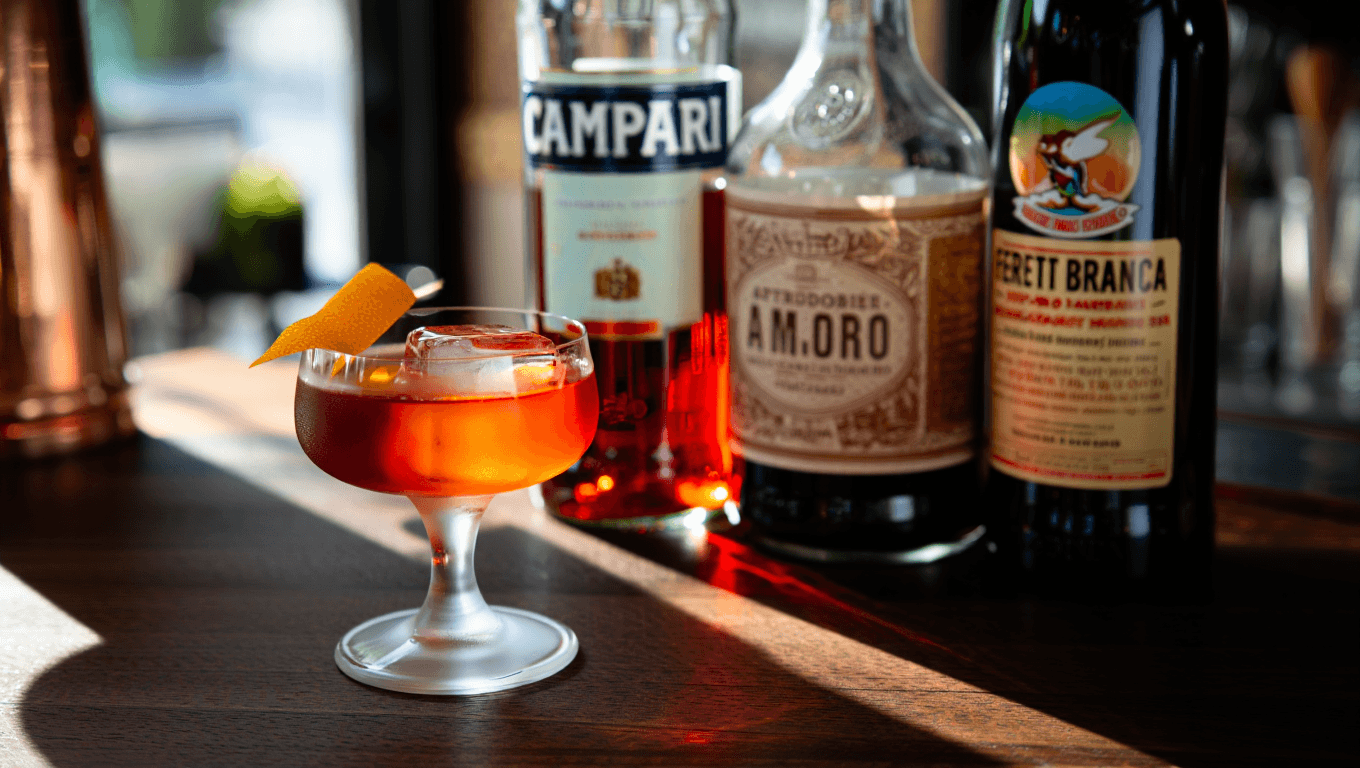
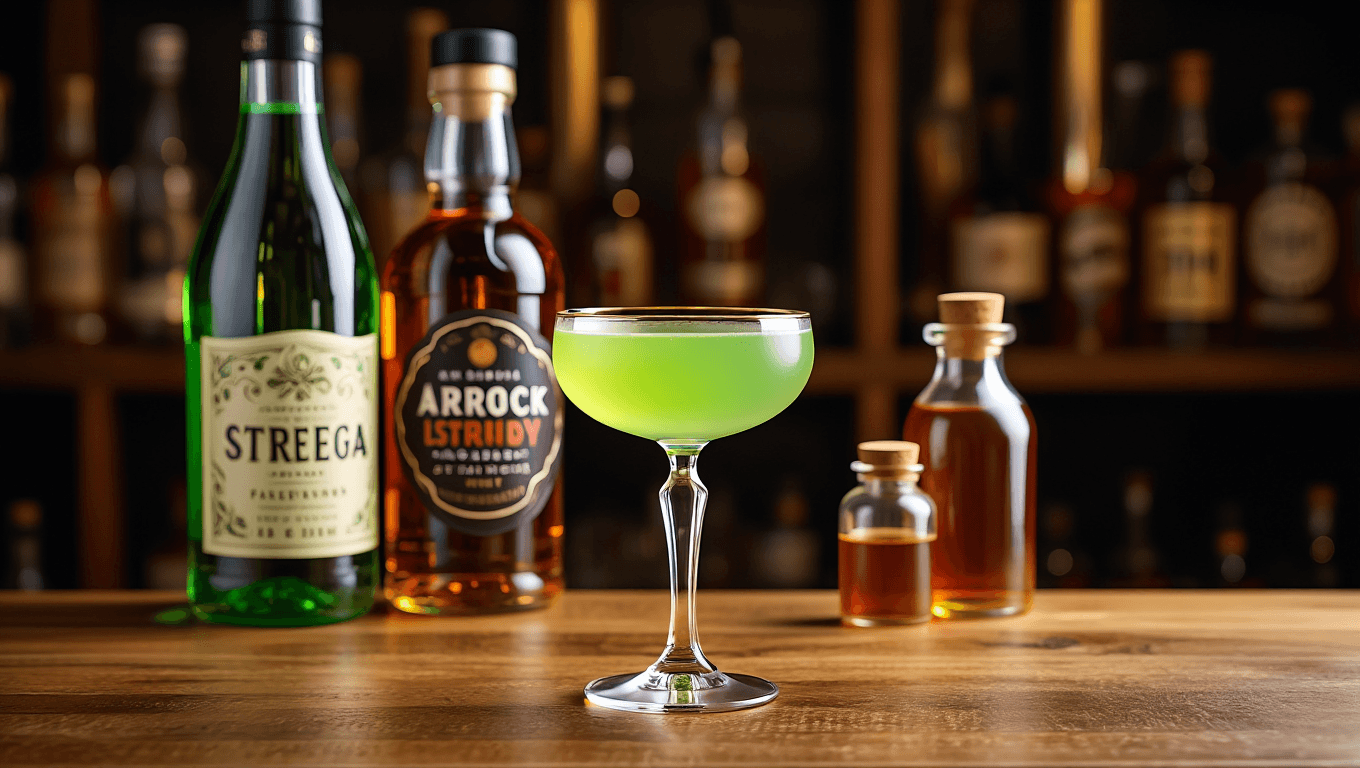
Amaryllis Negroni recipe: how to make a balanced, bittersweet cocktail
Begin by combining the dairy base with pumpkin puree, maple syrup, and pumpkin pie spice in a small saucepan over medium heat. Whisk gently until the mixture is smooth and warm, then add two cinnamon sticks for an infused aroma. Increase the heat briefly until the creamer reaches a gentle boil, whisking occasionally for about 60 seconds, then remove from the heat and let it rest.
After the mixture cools for a few minutes, strain it through a fine-mesh sieve if any bits appear separated. Pour the creamer into a sealed jar while still warm, then chill it in the refrigerator. Shake well before each use to reincorporate any settling.
Use the creamer immediately in coffee or espresso, or freeze small portions for later. You all can pop frozen creamer cubes into hot coffee for a fast, frothy pumpkin moment without thawing.
Which ingredients do you need and what are good substitutions?
This recipe keeps the ingredient list short and pantry-friendly while prioritizing authentic pumpkin flavor. The essentials are a creamy liquid base, pumpkin puree, a natural sweetener, pumpkin pie spice, and cinnamon sticks for depth. Choose each component based on your texture and sweetness preferences.
- Base: heavy cream, half-and-half, or whole milk for a traditional texture.
- Pumpkin: canned or homemade pumpkin puree, about 2 heaping tablespoons per 1 1/2 cups of base.
- Sweetener: pure maple syrup gives warmth and complexity without cloying sweetness.
- Spice: pumpkin pie spice plus cinnamon sticks for infusion.
Below is a compact reference table illustrating quantities and recommended dairy-free alternatives so you can tailor the creamer to dietary needs.
| Ingredient | Amount (for ~1 3/4 cups) | Best Dairy-Free Swap |
|---|---|---|
| Heavy cream / half-and-half / milk | 1 1/2 cups (360 ml) | Full-fat coconut milk or creamy oat milk |
| Pumpkin puree | 2 heaping Tbsp (~35 g) | Same (pumpkin is plant-based) |
| Pure maple syrup | 2 Tbsp (30 ml) — adjust to taste | Maple or brown rice syrup |
| Pumpkin pie spice | 1 1/2 tsp | Blend of cinnamon, ginger, nutmeg, cloves |
| Cinnamon sticks | 2 sticks | Ground cinnamon (less infusion intensity) |
Can this creamer be made dairy-free?
Absolutely. Select a nondairy milk with some body for the creamiest outcome. Full-fat canned coconut milk yields the richest texture, while oat milk gives a neutral flavor and pleasant mouthfeel. Cashew milk provides creaminess but can be thinner, so consider using a slightly smaller ratio of pumpkin or thickening with a touch more coconut milk.
If you opt for plant-based milks, warm them gently and watch for separation when boiling. Avoid prolonged hard boiling with almond or oat milks, and strain after cooling if necessary. Sweeten and spice as you would for the dairy version so the characteristic pumpkin spice profile remains intact.
How long will homemade pumpkin creamer keep and what is the best storage method?
Store the creamer in a tightly sealed jar in the refrigerator where it will stay fresh for up to one week. Remove the cinnamon sticks before refrigerating to prevent the flavor from becoming overpowering over time. Always give the jar a vigorous shake before adding a splash to your cup since separation can occur naturally.
Freezing provides longer-term convenience and portion control. Pour creamer into an ice cube tray and freeze; one cube equals roughly a splash in a standard mug. Transfer frozen cubes to a labeled freezer bag and use them within one to two months for best flavor.
When reheating frozen portions, allow them to thaw briefly at room temperature or warm gently in a small saucepan. Avoid boiling after freezing, as texture and flavor may change if overheated.


Miles H. Whitaker writes about breakfast with a calm and practical approach. His recipes are designed for both busy mornings and relaxed starts, focusing on simplicity, comfort, and everyday nourishment.