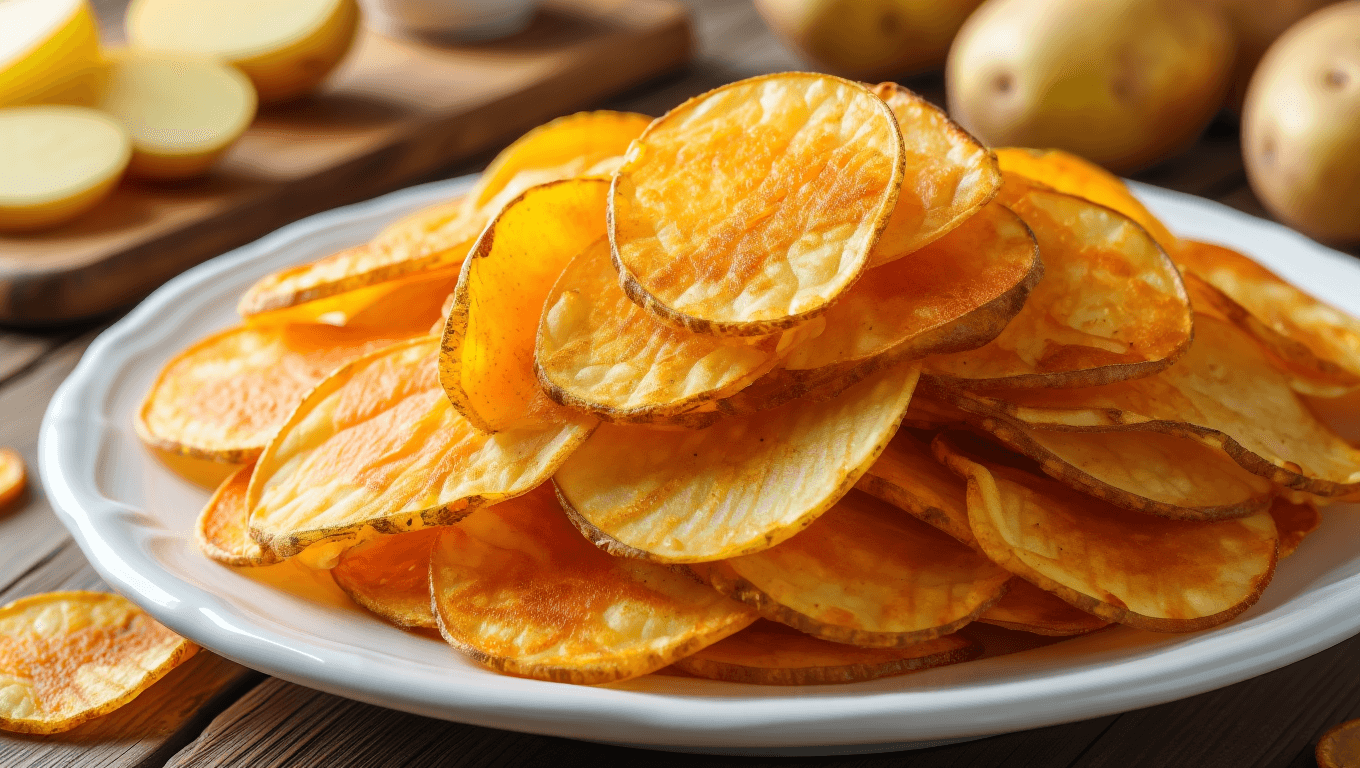
If the crunch of a fresh potato chip makes you smile, you will love mastering a simple at‑home method that delivers the same golden, crispy result without deep frying. This approach teaches how to make homemade potato chips using just a broiler or a hot oven, olive oil, salt and an optional Old Bay twist for a savory lift. The process is fast and flexible, ideal for snacks, picnics or adding a crunchy side to a meal. You can scale the batch up or down and tweak seasoning to suit your taste.
How do you get perfectly crispy chips in the oven?
Top 20 St. Patrick’s Day cocktail recipes: easy green drinks for parties
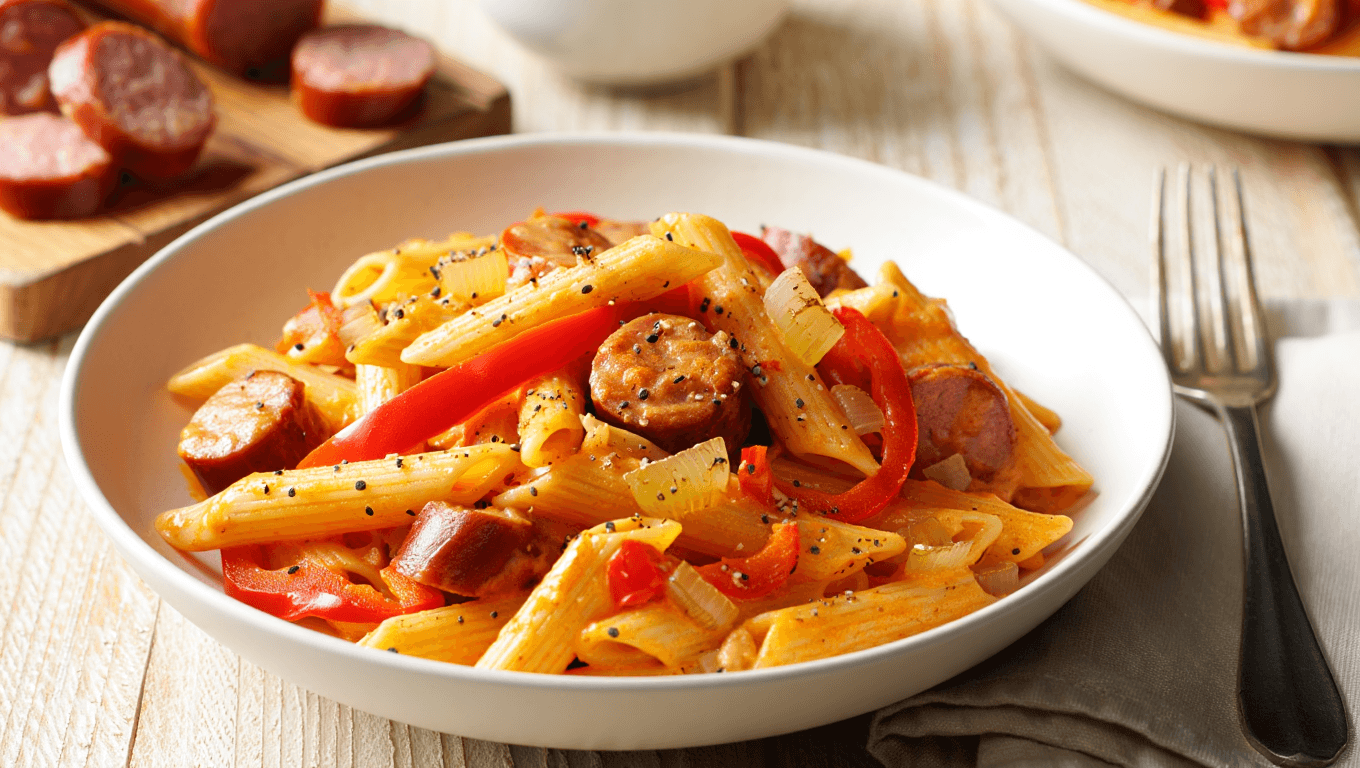
Creamy Cajun pasta recipe with peppers and smoked sausage
Start by preparing the potatoes as evenly as possible so each slice cooks at the same rate. Use a mandoline or a very sharp knife to cut slices about 1/8 inch thick; thinner slices will crisp faster while thicker ones stay chewier. Spread the slices in a single layer on a roasting rack placed over a baking sheet so hot air circulates around each chip.
Preheat the broiler on a low setting or set the oven to 475°F (245°C) if the broiler is very intense; high heat creates the rapid browning you want. Toss the raw slices with olive oil, coarse salt and Old Bay if you like a little spice, making sure every piece gets a light, even coating. Cook in batches so the slices do not overlap; that keeps each chip crisp and evenly colored.
Watch closely while they brown since the final minutes go quickly and chips can shift from golden to burnt in a flash. Allow the chips to cool completely on a rack before storing so steam does not re-soften them. Repeat the process until you have the quantity you want.
What ingredients and tools are required?
The ingredient list is short and mostly pantry-friendly, letting you focus on technique rather than sourcing special items. You will need a starchy potato variety like russet for the best texture, a neutral oil with a high smoke point works, and coarse salt builds flavor and crunch.
- 4 russet potatoes, washed and dried
- ¼ cup olive oil or another neutral oil
- 1 tbsp coarse salt and 1 tbsp Old Bay if desired
Equipment is minimal: a mandoline or sharp knife, a baking sheet with a roasting rack, and either a broiler or a hot oven. If vous are serving many people, a second rack and tray will speed batch cooking.
How long do homemade chips keep and how should you store them?
Once cool, homemade chips remain at their best for a short window because moisture in the air will soften them over time. Store finished chips in an airtight container at room temperature and try to eat them within two to three days for peak crispness. Avoid refrigeration, which invites condensation and makes chips soggy.
If chips lose their crunch, revive them by spreading them on a baking sheet and warming for a few minutes at 300°F (150°C) until they re-crisp. Keep an eye on them so they do not brown further; a gentle reheat restores texture without changing flavor.
For gifting or travel, place chips in a paper bag inside a rigid container to protect from crushing and help absorb stray moisture. Small containers of salt or seasoning packets can be paired so recipients can finish chips to taste.
| Step | Time | Temperature | Yield |
|---|---|---|---|
| Prep and slicing | 30 minutes | room temperature | 4 to 6 servings |
| Cook per batch | 5 to 7 minutes | Broiler low or 475°F | Depends on tray size |
| Store after cooling | Up to 3 days | airtight container | – |

Tyler Benson specializes in quick and practical snack ideas for active lifestyles. His content focuses on efficiency, flavor, and everyday convenience.