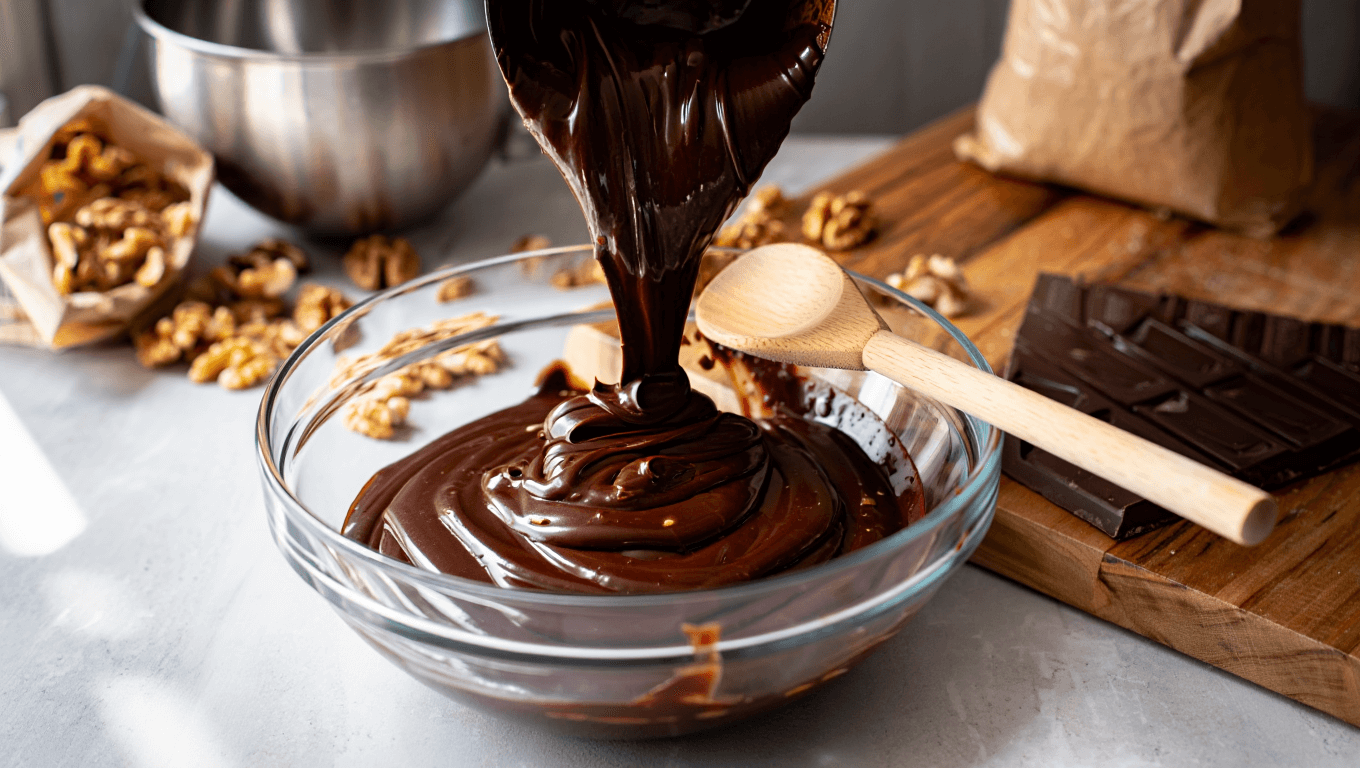
Achieving a smooth, glossy chocolate fudge requires attention to temperature, timing, and a watchful eye for sugar crystals. This recipe explains how to make classic chocolate walnut fudge, with practical tips for avoiding grainy texture and getting the creamy consistency you want. You will find clear steps, ingredient measurements, and storage advice so that every batch turns out dependable and delicious.
Why does fudge turn out grainy?
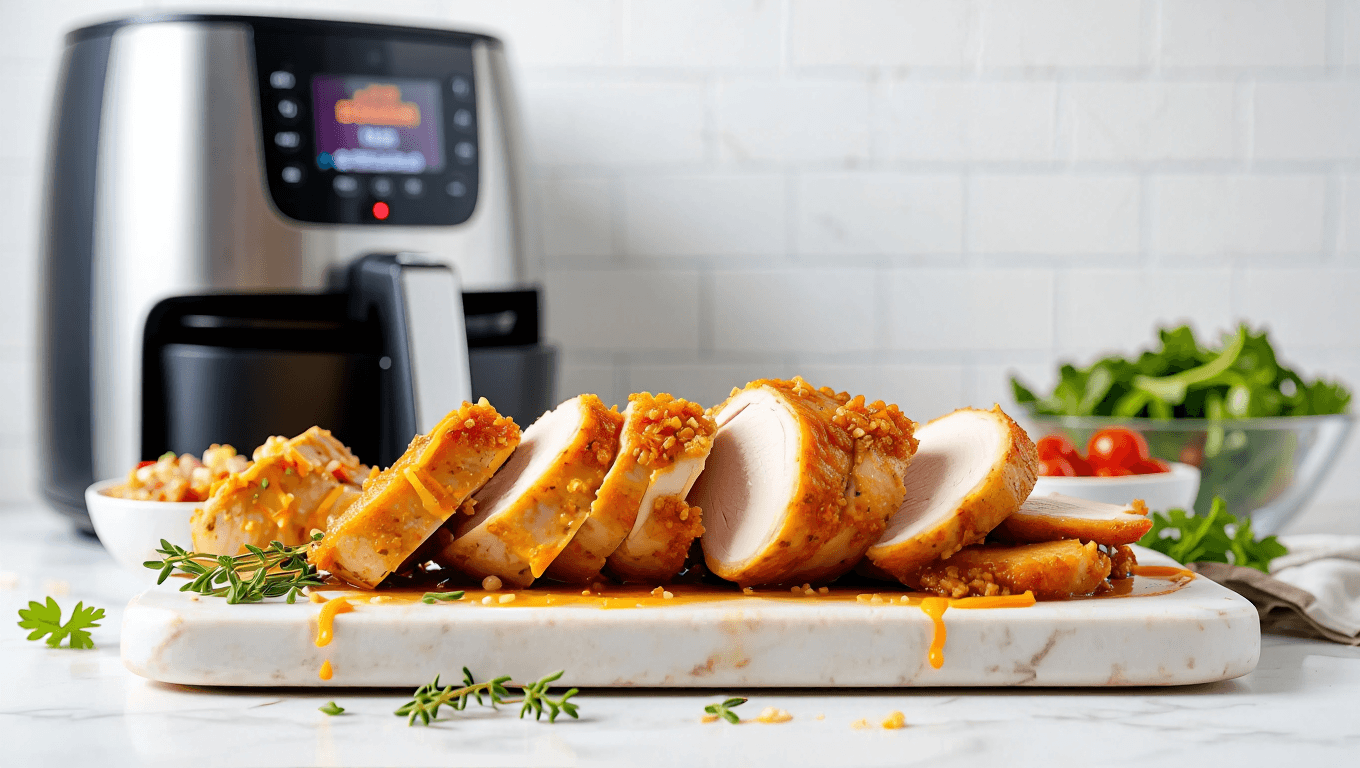
How to meal prep air fryer chicken breasts for easy healthy lunches?
Top 20 St. Patrick’s Day cocktail recipes: easy green drinks for parties
Graininess happens when sugar recrystallizes instead of forming a smooth matrix during cooling. Undissolved sugar crystals clinging to the sides of the pan or overzealous beating at the wrong moment commonly trigger this problem. Crystallization transforms what should be a silky fudge into a crumbly one, so controlling how sugar dissolves and how the mixture cools is essential.
Moisture and ambient temperature influence the outcome as well. High humidity or a warm kitchen can make the fudge set too slowly and allow crystals to form. If vous are working in a warm environment, aim for a cooler, dry workspace and shorten the cooling window to limit crystal growth.
Practice and small adjustments help a lot. Slightly lower final cooking temperatures yield softer fudge while a few degrees more make it firmer. Also, proper stirring, using a clean pastry brush to wash down sugar on the pan sides, and avoiding scraping browned bits from the bottom will reduce the chance of grainy results.
What is the soft ball stage and why does it matter?
The soft ball stage is a candy-making benchmark that signals the right concentration of sugar and liquid for fudge. When a spoonful dropped into cold water forms a pliable ball that flattens under pressure, the mixture has reached the soft ball stage. This typically corresponds to about 235–240°F (112–116°C) on a candy thermometer.
Hitting the soft ball stage reliably sets the texture you want after beating. If the mixture is undercooked it will be too soft and fail to set; if overcooked it becomes hard and brittle. Use a thermometer for repeatable results and confirm with the cold water test if you do not have one.
Step-by-step chocolate walnut fudge recipe
Start by toasting the nuts and preparing the pan. Heat the oven to 350°F and toast 2 cups of walnut or pecan halves until golden and fragrant, about 8 to 10 minutes. Line an 8-inch square pan with parchment and lightly spray the paper so the finished fudge releases cleanly.
Ingredients table for quick reference
| Ingredient | Amount |
|---|---|
| Walnuts or pecans | 2 cups (227 g) |
| Unsweetened chocolate (100% cacao) | 4 oz (113 g), chopped |
| Unsalted butter | 3 tbsp (42 g), cut |
| Granulated sugar | 2 cups (400 g) |
| Unsweetened cocoa powder | 1/4 cup (21 g) |
| Whole milk | 1 cup (240 g) |
| Light corn syrup | 1/4 cup (85 g) |
| Honey | 2 tbsp (42 g) |
| Kosher salt | 1½ tsp |
| Vanilla extract | 2 tsp |
Melt the chocolate and butter gently over simmering water, remove from heat and stir in the vanilla and salt. In the emptied saucepan, whisk together sugar and cocoa, then add milk, corn syrup and honey and warm until the sugar dissolves and the mix begins to bubble at the sides. Keep the pan sides clean with a wet pastry brush as the mixture heats, then boil without stirring until the thermometer reaches the soft ball range.
When the syrup reaches the correct temperature, transfer it into a clean bowl and add the reserved melted chocolate without stirring. Let the combined mixture cool until a thermometer reads about 115°F (46°C), then beat on medium-low speed until it loses its sheen and becomes creamy. Quickly fold in the chopped toasted nuts, press into the prepared pan, and let the fudge rest at room temperature until firm, at least three hours, before unmolding and cutting into 36 squares.
How should you finish, cut and store fudge?
Use the parchment sling to lift the set fudge from the pan and place it on a cutting board for neat slicing. A sharp chef’s knife warmed under hot water and wiped dry between cuts gives the cleanest edges and prevents dragging. Cut the slab into a 3-by-3 grid after halving in both directions to yield 36 uniform pieces.
Store fudge in a cool, dry place and wrap tightly to prevent drying out. Consider these practical storage tips:
- Wrap individual pieces in plastic or parchment for gifting or longer storage.
- Layer squares between parchment in an airtight container if keeping multiple pieces together.
- Avoid refrigeration unless your kitchen is very warm, since the fridge can dry out the candy.
Room-temperature storage preserves texture, but if vous must refrigerate, bring pieces to room temperature before serving for the best flavor and mouthfeel.

Samuel Knox writes about desserts with a focus on comfort and simplicity. His recipes highlight homemade sweets that are easy to prepare and meant to be shared.